"Inspired" Designer Romper Using McCall's 6035 and Butterick 5652
Hey Everyone!
I'm back with another project.
I started this jumper last year when I was expecting and trying to build my maternity wardrobe. When I ran across this Marc by Marc Jacob Agnes Cotton Sateen Romper and fell madly in love with it. Sadly, I miscarried about a month into my pregnancy not knowing until a month after that.
But I Digress..
I was obsessed with this jumper and had no idea on how I would construct her but leave it to me to MacGyver my way into making a masterpiece. I put her away for almost a year because I wasn't in the mind frame to sew but now I'm ready to breathe life back into her.
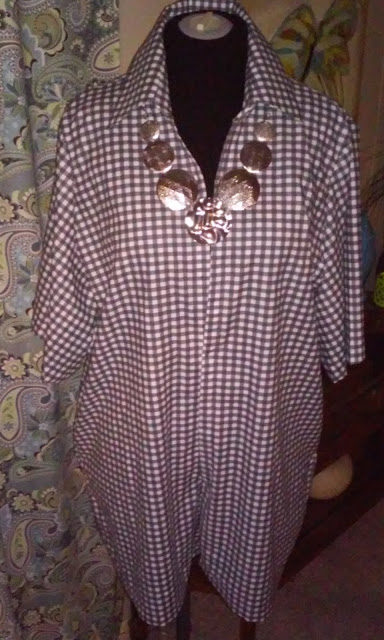
Here she is my Grey Gingham Gal....
Marc Jacob eat your heart, I made her for about $7.00.
It fits perfect, just like the picture,

I'm pairing the jumper with these insanely cute sandals.
When I ever decide to wear it, LOL!

My Inspiration Jumper.

To tell you truth, I had no idea on what hell I was doing, but I made it my mission to go for it. It took a couple of days to figure out what patterns to put together, but when I did, it as smooth sailing. I know many of you are designers and have or want clothing lines. Me, myself just love to recreate clothing that cost too damn much, i.e. this $324 for the Marc Jacob Jumper above. I sew for myself only, I don't want a career making other peoples clothes, I just LOVE sewing for myself.
I used the 2 patterns below.
Butterick
B5652
Red Jumpsuit view but cut it into shorts.


With the top of this pattern, I had to figure out the collar and button down.
McCall's
6035

The picture that follows show you how I overlapped the patterns to make it work.
I didn't do much of photography because this project was trial and error for me.
I wasn't quite sure if it was going to turn out right. When I tell you a nail bitter, lawd my nerves were bad. I made sure to use some inexpensive Wally World Fabric for $1-2 per yard, just in case it didn't turn out the way I wanted.

It's crazy because all I did was overlapped the 2 patterns and hoped for the best.

So far so great, this is where I actually left off last year.
It was coming along well, until I got the news, then I put her up.
It was coming along well, until I got the news, then I put her up.

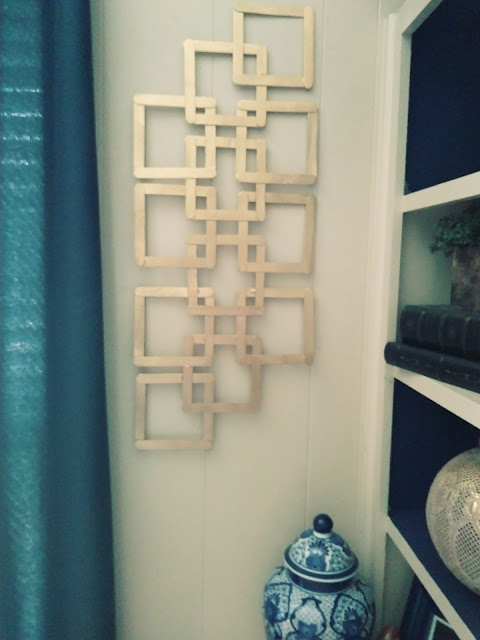
I've always kept the inspiration picture on my chalkboard wall and the jumper folded off to the side.
I knew spring is coming and needed to complete some projects I put away last summer.
When I tried her on I knew she had to be taken in on the sides as well as the neck.

So I turned her inside and pinned,

I actually had to take in 2 and 1/2 inches.

This is the button area.

I'm not that good with collars but it went on great.
Confession:
Although, I been sewing for years, I still have to look up YouTube Videos to actually see how things are done. Those pattern instructions can be confusing ass hell.

Sewing the collar on jumper.


I made the jumper a little long but I knew I would have to cut about 4 inches off.

I forgot to say that I made pockets as well.

Side View and Flared Sleeves.

Here's the back view of the Jumper.
Not Bad, Not Bad At All!!

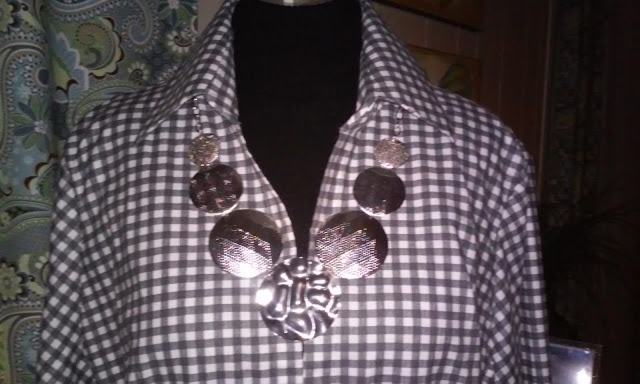
Closer View of Back Collar.

Closer Look of Front.
She's all done and I'm really pleased on how she turned out.
I plan on making more because it's was surprisingly easy to do and promise to make a detailed tutorial for you all if requested.
I hope you've enjoyed my little pictorial of the "inspired" jumper.
Please Comment, Share, and Subscribe to my blog.
Until Next Time....
SEW IT CHIC!!!!
I knew spring is coming and needed to complete some projects I put away last summer.
When I tried her on I knew she had to be taken in on the sides as well as the neck.

So I turned her inside and pinned,

I actually had to take in 2 and 1/2 inches.

This is the button area.

I'm not that good with collars but it went on great.
Confession:
Although, I been sewing for years, I still have to look up YouTube Videos to actually see how things are done. Those pattern instructions can be confusing ass hell.

Sewing the collar on jumper.

Better than I expected.

I made the jumper a little long but I knew I would have to cut about 4 inches off.

I forgot to say that I made pockets as well.

Side View and Flared Sleeves.

Here's the back view of the Jumper.
Not Bad, Not Bad At All!!

Closer View of Back Collar.

Closer Look of Front.

She's all done and I'm really pleased on how she turned out.
I plan on making more because it's was surprisingly easy to do and promise to make a detailed tutorial for you all if requested.

I hope you've enjoyed my little pictorial of the "inspired" jumper.
Please Comment, Share, and Subscribe to my blog.
Until Next Time....
SEW IT CHIC!!!!
Comments
Post a Comment